Create & Share a Session
Share a live session so your audience follows captions, translation, and dubbing on their own devices, each in their preferred language.
Create a session & let viewers join
Everything starts from a session you set up yourself. Once it’s ready, Maestra gives you a QR code and a link that your audience uses to join and follow along on their own devices.
Create a session
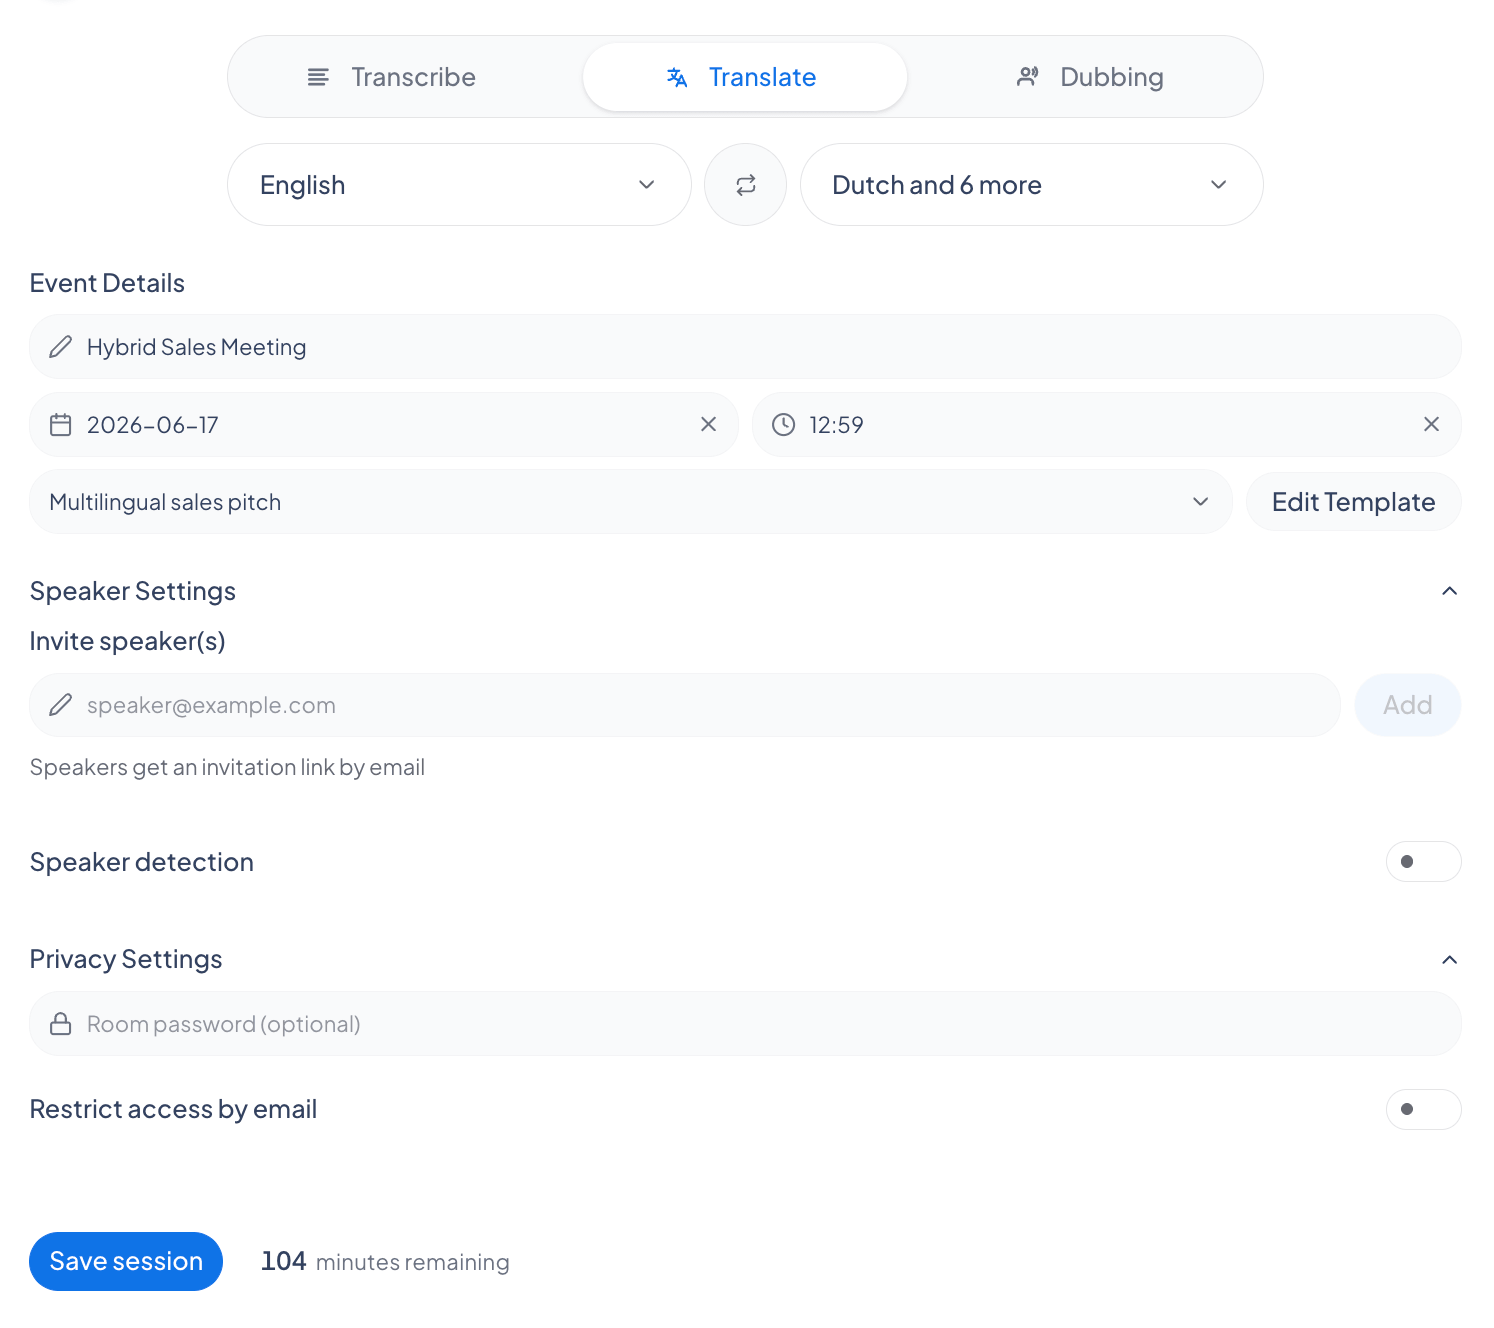
Go to Shareable Sessions and click New. Name the session, choose the source language and any translation languages, then set privacy or invite guest speakers if you need them.
Open the join card
Once the session is set up, the Join the session card appears with a QR code and a session link in the form https://live.maestra.ai/room/<id>. While a session is live you can reopen it any time from the Share Session button.
Share the QR code or link
Display the QR code on screen so people can scan it with their phone camera, or click the link to copy it and send it by chat, email, or messaging app.
Viewers open it on any device
Viewers open the link in any browser on a phone, tablet, or computer. No app or account needed (unless you turn on invite-only access).
Joining in a preferred language
If your session is shared in more than one language, each viewer picks the language they want from a Translation Language dropdown when they join. Everyone chooses independently; you don’t set a language per viewer.
Protect your session
In the event’s Privacy Settings you can add a password, restrict access to specific email addresses, or both. By default anyone with the link can join.
What viewers see at the gate
- Password protected: they’re prompted to enter the password to continue, with an error shown if it’s incorrect.
- Invite-only: they’re asked to log in with an authorized email address.
- Not on the list: they see a message that their email address is not authorized to join.
Add guest speakers
Guest speakers can speak into the same session from their own device. You invite them by email in the event’s Speaker Settings.
Invite speakers by email
Under Invite speaker(s), type each speaker’s email address and add it. Each invited speaker appears as a pill in the list.
Speakers get an invite link
Invited speakers receive an invitation link by email. They open it to join the session as a speaker.
Speakers show their own name
Each guest speaker can set their own display name, which appears alongside their captions.
Improve accuracy with context templates
Use Speech Context to give the AI background about your session so it transcribes names, terms, and topics more accurately. Add it from the event setup, then save it as a reusable template.
What you can add
- Background Info: a short, free-text description of the session covering its domain, topic, and setting. This tells the AI what the audio is about, so it places names and terms in context without you listing exact words. Up to 500 characters.
- Context Details: short key/value facts such as topic, industry, or speaker names. Keep each one brief, and up to 10 entries.
Give the template a name and save it. Saved templates appear in the context dropdown so you can reuse, edit, or delete them on future events.
Frequently asked questions
Do viewers need a Maestra account?
No, unless you turn on invite-only access, which requires viewers to sign in with an allowed email. Otherwise anyone with the link can open the session in their browser.
Can each viewer choose their own language?
Yes, as long as the host added those languages to the event beforehand. Viewers can only pick from the translation languages set up for the session, so add every language you’ll need before the event starts. Each viewer then selects their preferred one independently when they join.