Audio Processing
Choose your microphone and clean up the captured audio for clearer, more accurate transcripts.
Choose your microphone
Use Select microphone input to choose which microphone Maestra Live captures audio from. If a device isn’t listed, make sure it’s connected and that your browser has access to it.
You’ll need to grant Maestra Live permission to use your microphone the first time, if you haven’t already.
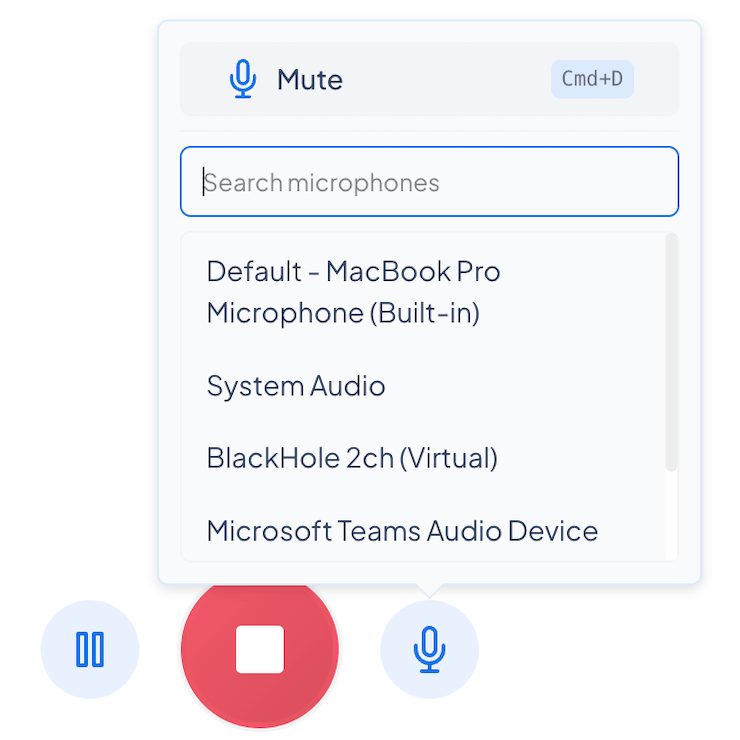
You can also switch microphones while a transcription is running. Select the mic icon in the session controls to open the picker, then search for and choose a device without stopping the session.
Processing options
Three browser-level controls help clean up the captured audio so the transcript stays accurate.
Echo cancellation
Reduces echo caused by speaker or system audio picked up by your microphone.
Noise suppression
Reduces background noise in your audio.
Auto gain control
Automatically adjusts microphone volume for consistent levels.
Echo cancellation modes
- Always off: echo cancellation is never applied.
- Default (on for dubbing, off for transcription): on for dubbing to prevent the dubbed voiceover from feeding back into the mic, off for transcription/translation so you can capture sound playing through your computer’s speakers.
- Always on: echo cancellation is always applied.
Frequently asked questions
Why isn’t my microphone listed?
Make sure the device is connected and that you’ve granted Maestra Live microphone permission in your browser.